Archiving Convention Art Without Framing
Hi, I’m Sean, and I have a problem: I buy too much fan art at conventions. I come home from shows with poster tubes and flat art guards stuffed with prints.
However, I suspect I’m not the only one with this problem, and, while conventions still haven’t picked up yet due to COVID, I wanted to discuss how to safely archive your convention art without using frames.
What Do You Mean by “Archive”?
When I say “archive,” I mean that the techniques here are:
- Safe - we’ll be using acid free materials and special adhesives that will not discolor or degrade the art.
- Reversible - any adhesives we use can be safely removed from the artwork without damage.
This means these techniques may be a bit overboard for some people. We’ll be using water-activated tapes and using framing techniques to mount smaller art to acid-free cardstock to keep it safe.
To be clear, I acknowledge this isn’t for everyone, and I have notes in this guide of steps you can skip to sacrifice archival quality for speed. However, for me personally, I would rather it be my decision to get rid of some art in the future (because why in gods name did I buy a print of that character), rather than nature’s (because the art is yellowing).
We can divide art into two basic cases: when the art is larger than a standard 8.5” x 11” letter paper, and when it’s the same size or smaller.
Case 1: Art is Larger Than 8.5” x 11”
This is the easier case - if you’re working with large posters (anything larger than standard letter paper (8.5″ x 11″)), you’re going to want to use a dedicated art binder. You can grab these at most art stores.
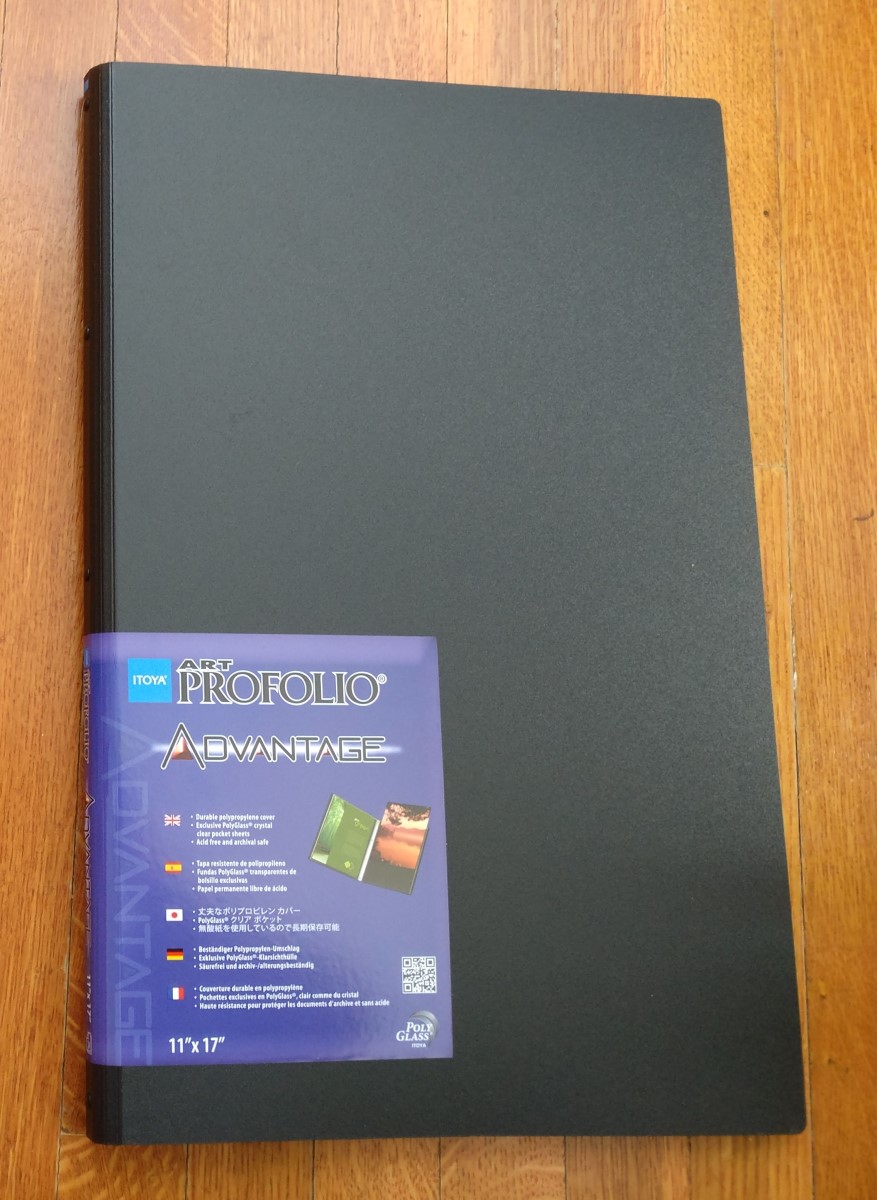
Art binders are your best friend when it comes to holding on to large pieces. They’re specifically designed to showcase art, so they tend to come with pages that are incredibly clear, and have holes in the bottom to allow airflow (so the piece is less likely to fuse to the clear sleeve).
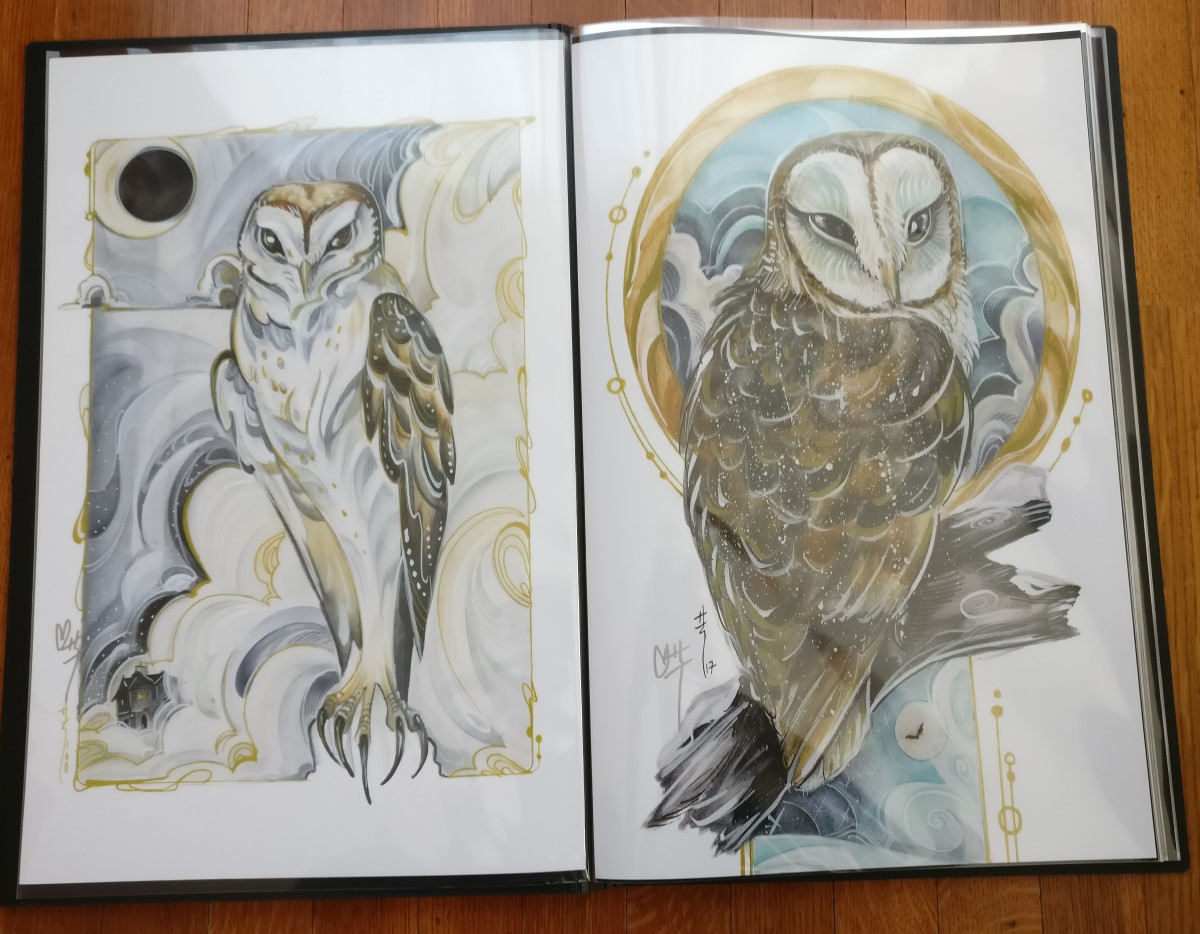
There isn’t much to say about these — I only have two notes:
-
Binders come in two forms: the type with rings so you can add more sheets, and the type where the page count is fixed. The expandable ones tend to be more expensive, and often the cost of adding more sheets is the same cost of buying a new binder—check with your local art supply store or Amazon before deciding what you want to do.
-
If you have a binder that has fixed pages, and you’re inserting art that is the exact size of the binder (say an 11” × 17” work into an 11” × 17” binder), the page, when the book is laying open, may have a slight curve, making inserting the artwork difficult (especially if the piece is on a thicker stock). To make things easier, with the book is laying flat, hold the page perpendicular to the book. Then, insert the art while the page is upright. This allows the page to be completely straight, and decrease the resistance when inserting into the sleeve.
But what about when you art is 8.5” x 11” or smaller?
Case 2: Smaller Artwork
If you’re handling art that is 8.5″ x 11″ or smaller, you can still use a dedicated art binder. This will usually make your pieces look better (the plastic is, again, clearer and higher quality). However, if you want to save money, you can just as easily use a 3-ring binder from your local office supply store and some plastic sheet guards. This might make some glossy artwork look dull (especially if your plastic sheets are non-glare), but is significantly less expensive than using dedicated art binders.
However, this is where the fun begins; we’ll be placing different sized art into a fixed sized binder. How are we going to do this? With the magic of framing tools!
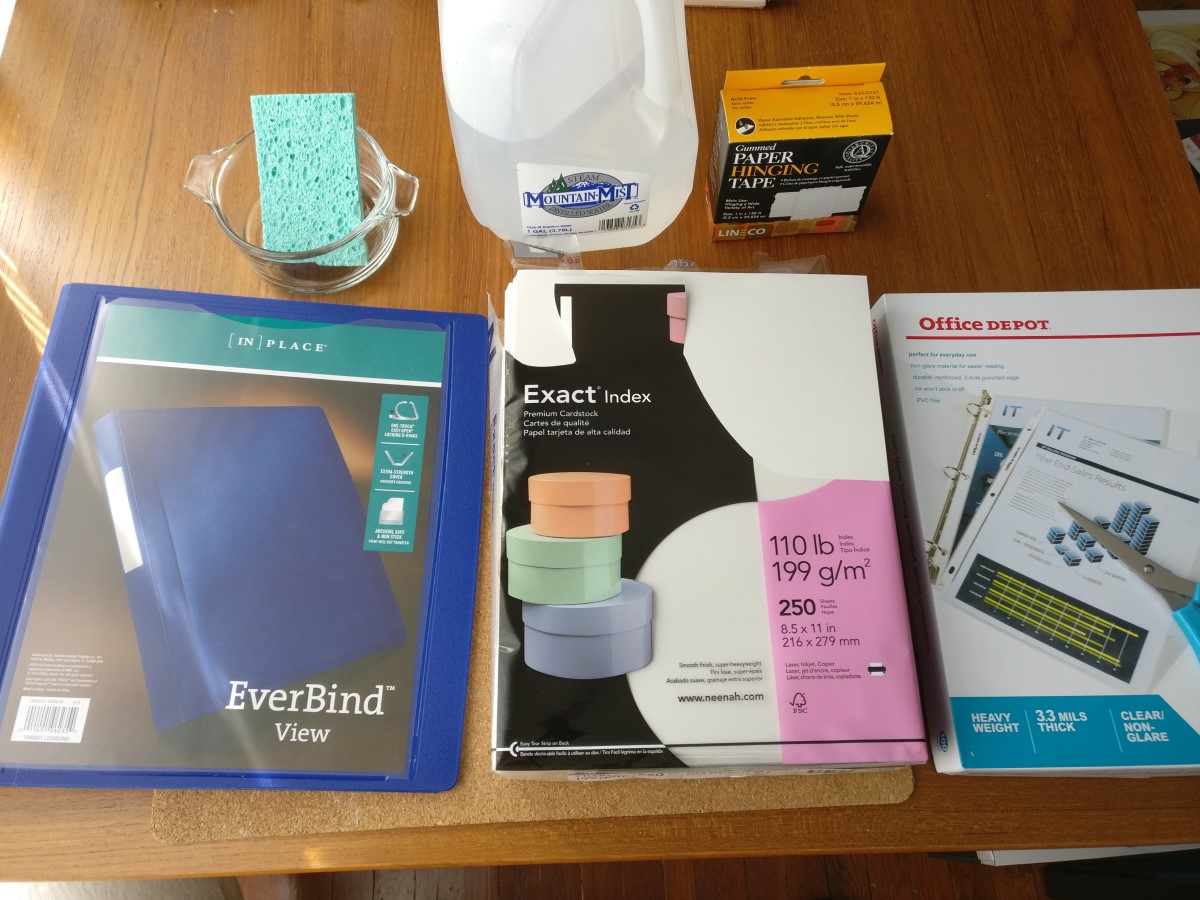
Okay, I know that looks like a lot, but the most critical thing here is the tape. We’re going to be using archival framers’ tape, or, more correctly, gummed paper hinging tape, by a company called Lineco.
This tape is water activated: you can think of it like the material on an envelope. The reason we’re using it is because it’s reversible. While you’ll need to wet the tape to make it tacky, once it’s attached, you can use a Q-Tip and apply water to the back of the tape to make it detach. This is part of our goal: everything we do we can undo.
Speed note: If you don’t think you’ll ever want to undo your mounting work (you want art permanently attacked to the cardstock we’ll be using), Lineco does make a self-adhesive tape that is still guaranteed not to yellow or discolor the art, and you don’t have to wet it. However, if you’re going to go down that path, you might be better served by Scotch’s double sided scrapbooking tape.
Archival note: Technically, you should use distilled water for this, because while the chemicals in the tape are safe to be touching the artwork for decades, the chemicals in your local water might not be.
Alright, to archiving!
If Your Art is Exactly 8.5″ x 11″
If the artwork is the size of the plastic sheet, this is really easy. Take a piece of cardstock, write down any details about the piece you wish to save (artist’s name/info, where you got the piece), place artwork over the (blank) side, and place both into a sleeve.
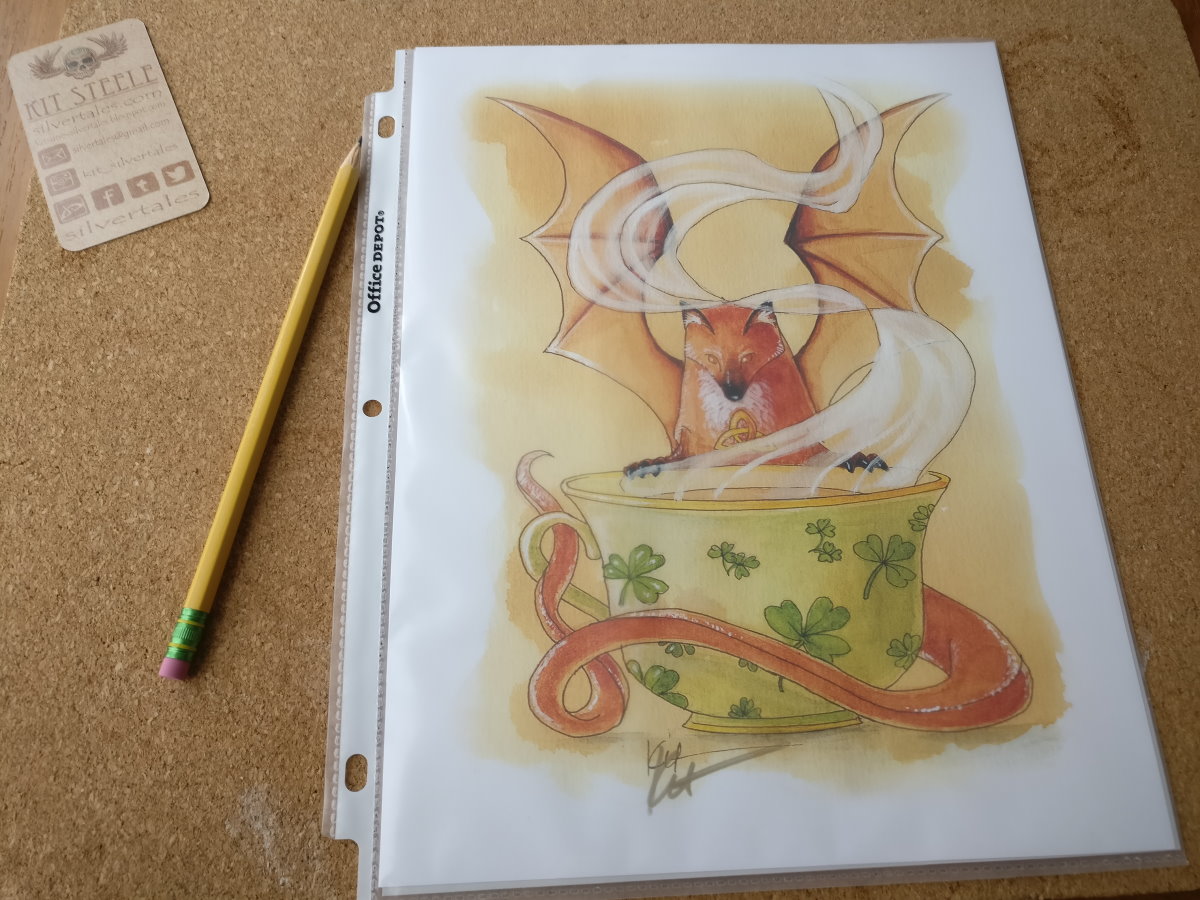
Art in standard 8.5 x 11 sleeve with cardstock backing.
Keeping cardstock under the art will help protect it, and also give you, the collector, an easy way to mark down where art came from (you just look on the back, and you have the data), without writing on the artwork. Just slip this into a 3-ring binder, and you’re done!
If You Art is Smaller
But what if our art is smaller than our cardstock (and sleeve)? We’ll need to adhere the artwork to the letter-sized cardstock. This prevents it from moving around, and improves the presentation (art can be centered in the sleeve).
What I’m going to demonstrate here is how to do a V-Hinge mount, which is commonly used in framing.
First, line up where you want the work on the page. Once you’re happy with the position, use a pencil, and lightly mark the locations of the top two corners.
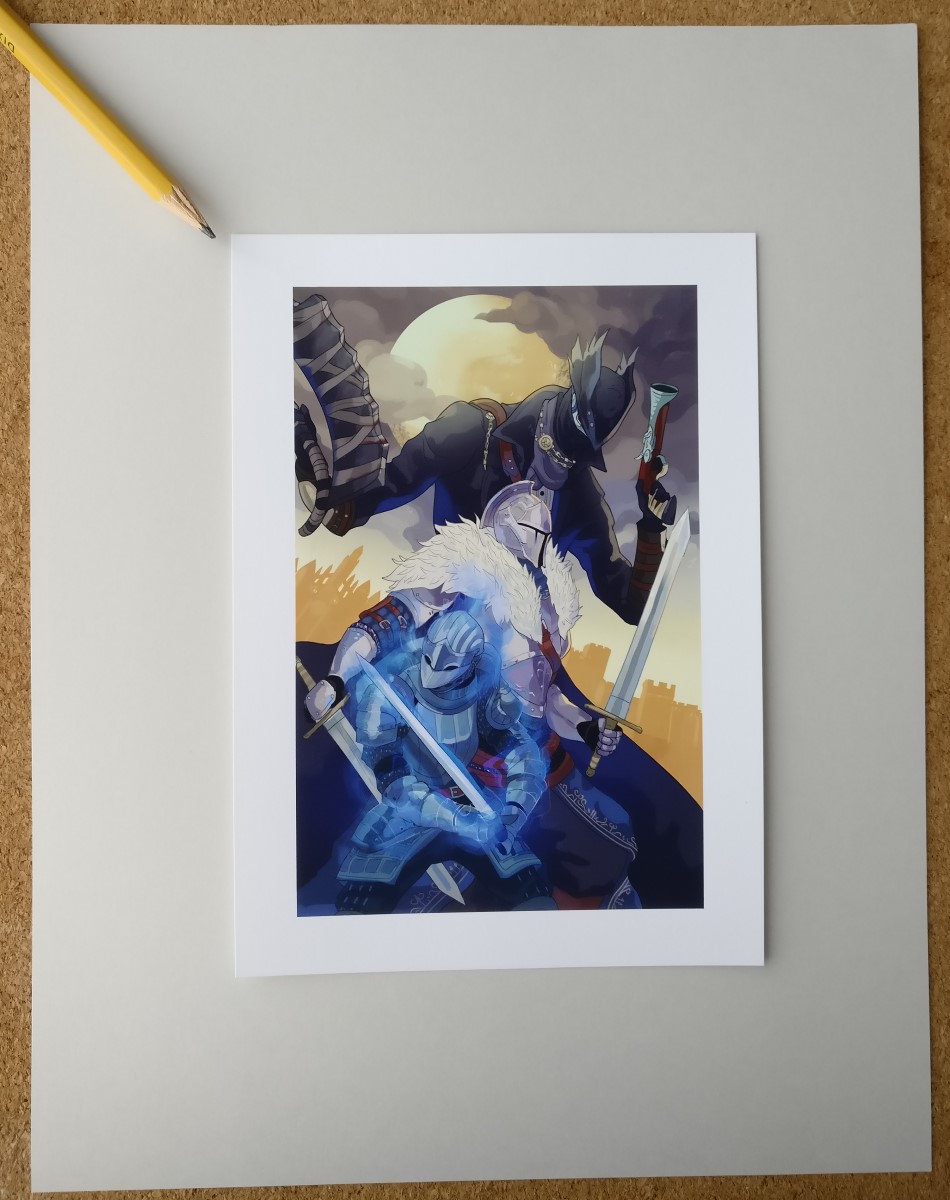
Position the art on the cardstock.
Next, flip the artwork over (so the top of the art is touching the two marks you made earlier), and align the piece with the marks. You may want to use a coaster or something as a weight to hold everything in position once it’s aligned.
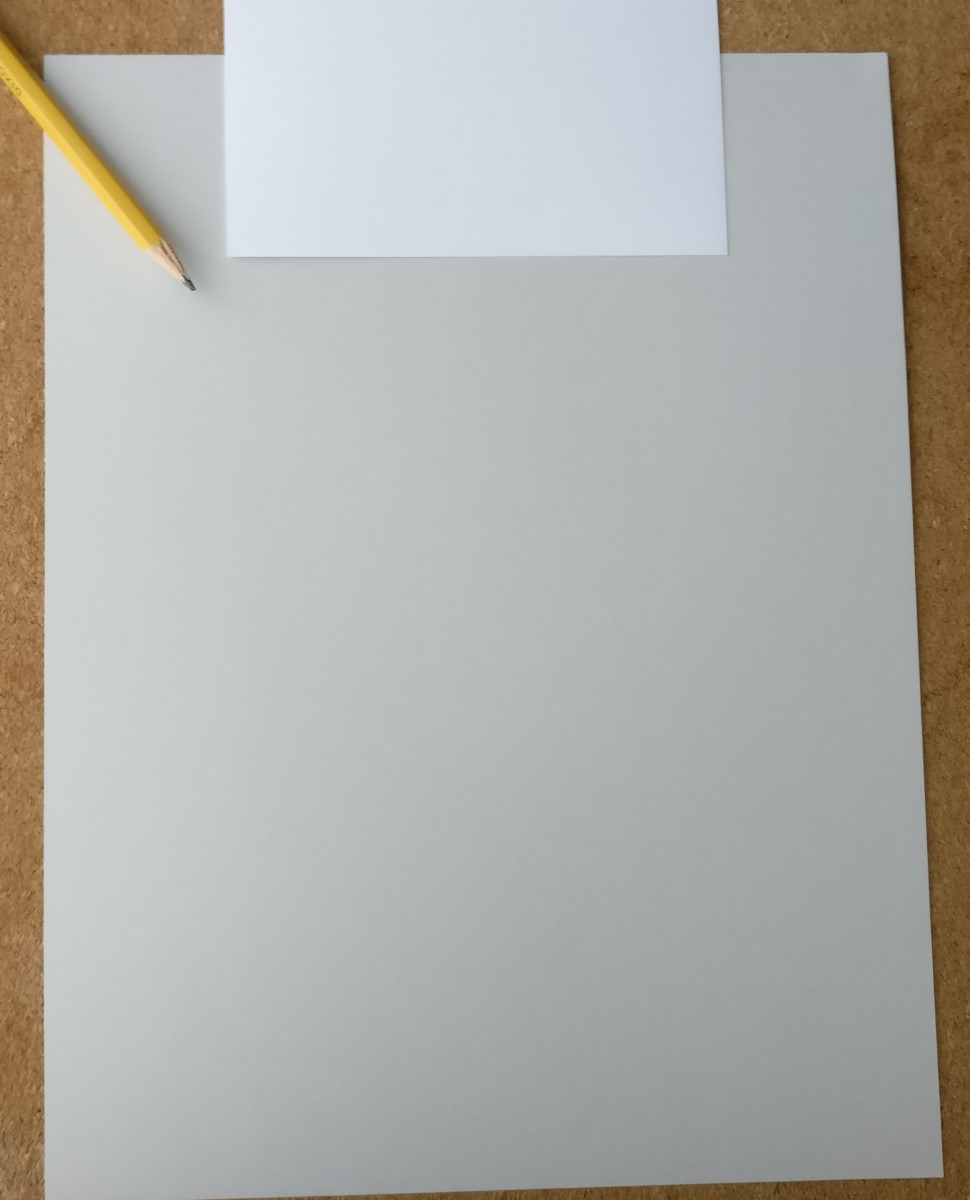
Flip the art over the top and align to the marks.
We’re now going to apply tape. As I said, this is called a V-Hinge mount (and you’ll see why in a moment). To make this, use a wet sponge, and gently wet the tape (don’t make the tape sopping wet – you don’t want it to make the artwork wet and you only need a little bit to activate the glue).
First apply the vertical piece of tape (the | tape); you only need about a quarter inch of tape to be on top of the artwork.
Next, apply the cross tape (the — tape)—this should go at the edge of the piece, and go on top of the first tape. We do this because the tape isn’t particularly strong, and this reinforces it.
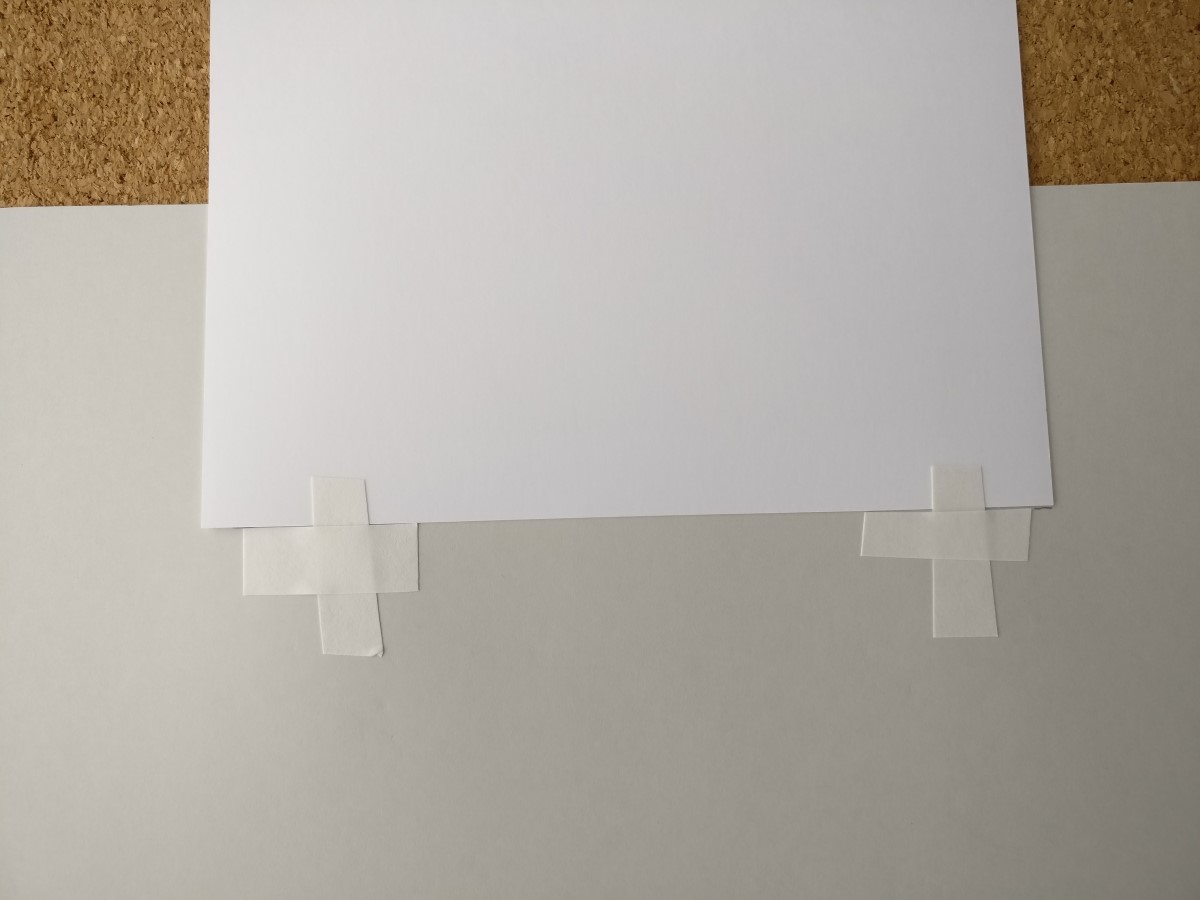
Apply two pieces of tape in each upper corner.
Gently flip the work over. The tape will create a hinge, attaching the art to the cardstock, and hold the artwork in place.
If you try this, and an edge is lose, don’t panic. Flip the piece back over, take the tape that isn’t adhering, and apply just a little bit more water, and then press it back against the artwork.
By using this technique, you can make complex layouts and mounts on the page, and everything is fully reversible if you decide you want to change things up (or frame something) later!
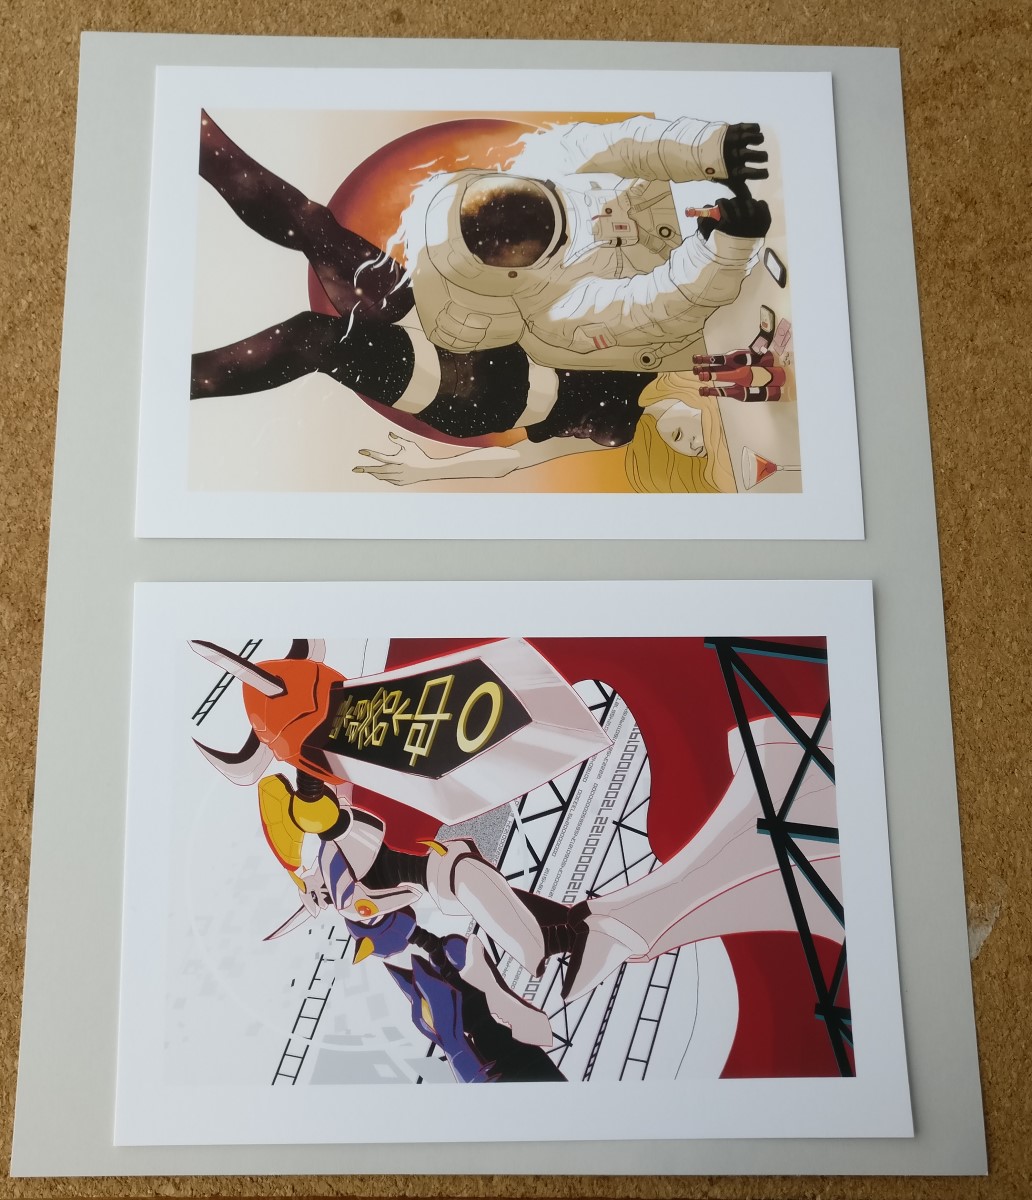
With this technique, you can make (reversible) layouts!
But… This takes forever
This is a skill, and it requires practice. You will get faster with time. I can do one of these in about two minutes, however I’ve done this quite a bit. If you’re willing to do something that’s not really recommended, and speed up your process significantly… There is something you can do.
Instead of using a V-Hinge mount, you can use a T-Hinge mount. T-Hinge mounts are not designed for this; they’re usually used for holding artwork under a mat. Additionally, while still reversible, this means tape is sticking mid-artwork instead of being quarantined to the edge (so to release you’d have to cut the tape with a blade under the piece, and then remove the material still adhered to the artwork).
However, if you’d rather apply tape and eyeball position, this is significantly faster than using proper V hinge mounts everywhere. To apply:
- Wet the horizontal piece of tape (the —), while leaving the vertical one dry (and thus not activated yet).
- Position the vertical tape so the sticky side will be facing up, while the horizontal piece should be tacky-side down (toward the cardstock).
- Place the horizontal tape over the vertical tape, securing the T shape to the cardstock.
- Use your sponge, and wet the exposed vertical tape. This will make the tape that is facing up sticky, and allow you to place artwork on top of it.
- Use a clean cloth (to avoid fingerprints) to apply pressure on the artwork where the tape is (this only takes a second).
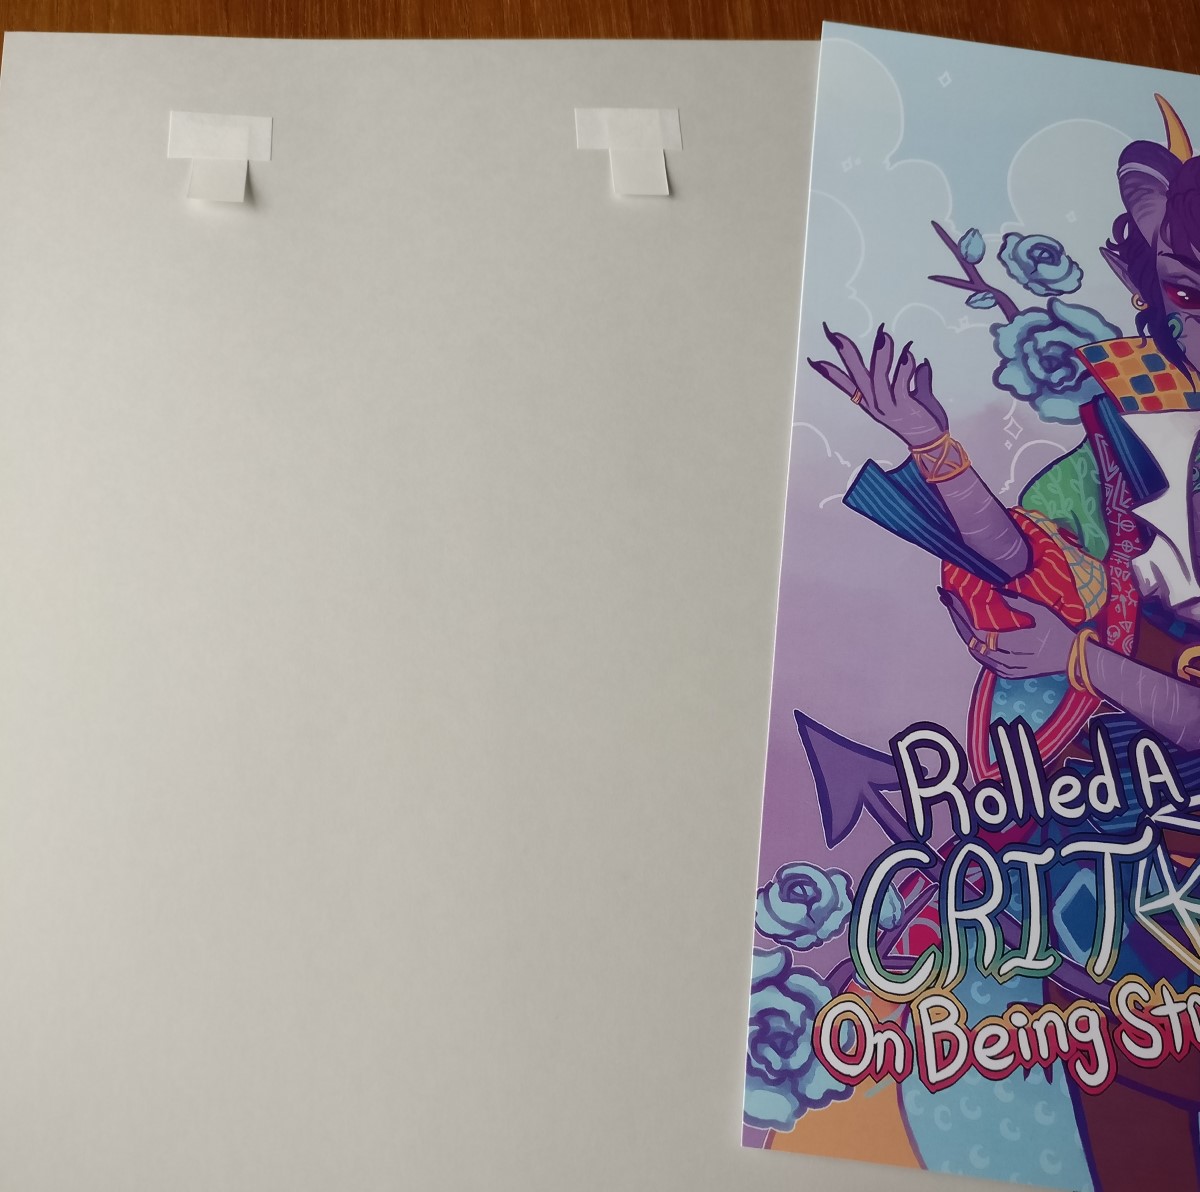
T-Hinge mounts aren’t recommend for this, but they are much faster.
And you’re now done. You artwork is safe in its binder, and ready for display (or hiding in a basement somewhere). But now you’ll be in control of when to get rid of that old print!